I discovered a new and simple way to bind tiny mini quilts and mug rugs, and had to share. I discovered it purely by accident while I was twiddling around with a quilt label.
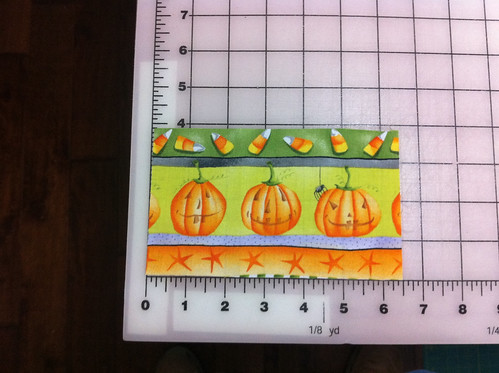
1) Measure the top of your tiny quilt.
2) Cut batting the same size.
3) Cut backing one inch bigger in both directions. If your top is 3"x5" cut the backing 4"x6".
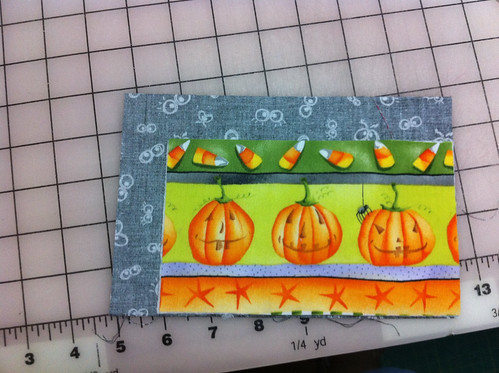
4) With right sides together, center one edge of backing on top of top and batting.
5) Sew 1/4" seam.
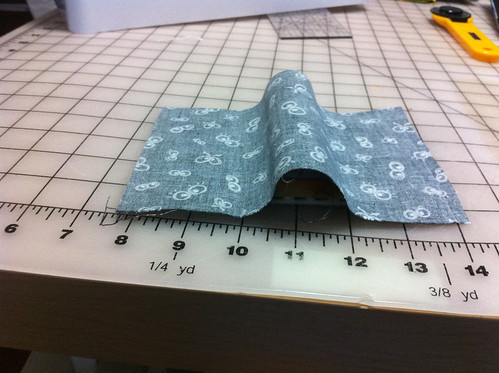
6) Aline parallel edge of backing on parallel edge of top and batting. You will have a "hump" in the backing fabric because it is bigger.
7) Sew 1/4" seam.

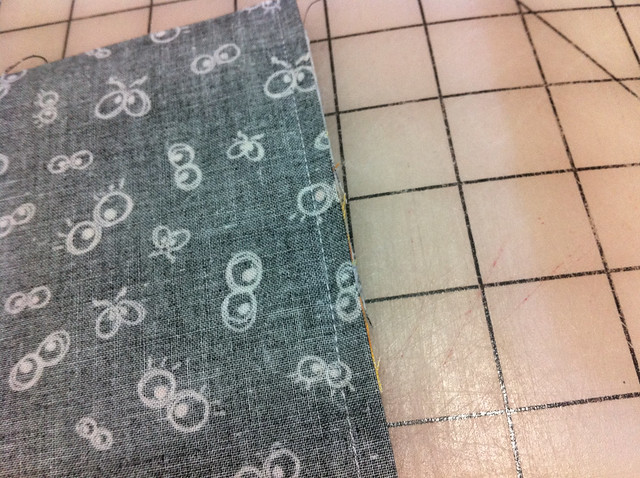
8) Flip inside out. And finger press backing so that it curls around the raw edges of the seam allowance. Steam iron.
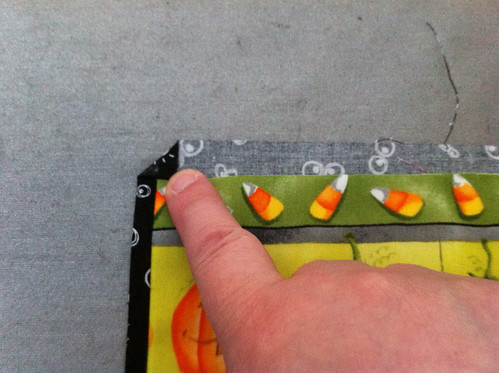
9) Fold corner 45 degrees so raw edge of backing touches raw edge of tiny quilt sandwich. You may want to pin it this way, as finger pressing tiny bits doesn't always work well. Fold other corner on same raw edge.
10) Steam press. I kept singing my fingers....until I realized that I could use straight pins and stick them through my ironing board cover.

11) Fold raw edge over 1/4" and steam press. Again, it might help avoid burns if you use pins.
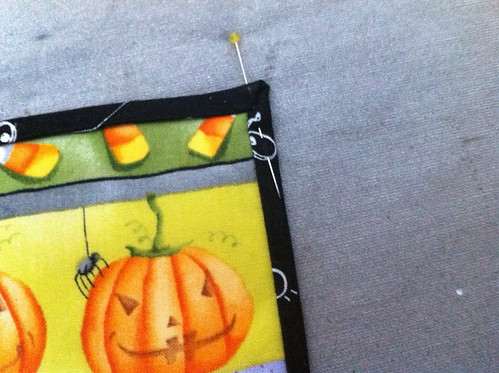
12) Roll folded edge over raw edge of quilt sandwich and pin in place. Steam iron. At this point you can fiddle with the "mitered" corner to make it perfect.
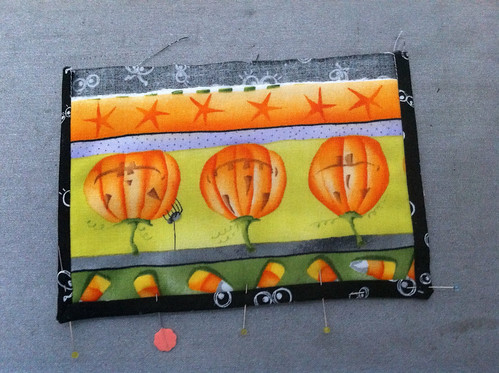
13) Repeat process on other side.
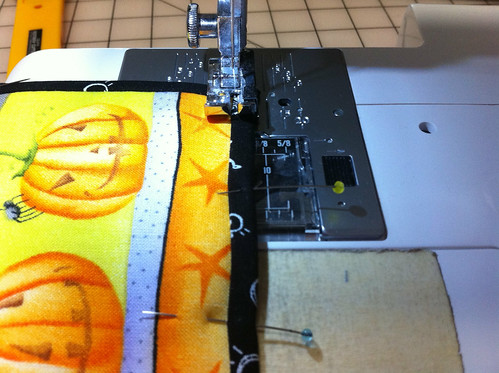
14) Top stitch being sure to keep the needle down when you turn corners. Steam press.
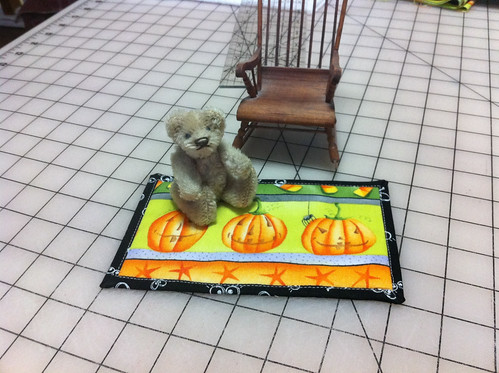
Ta-da! Teddy has a new quilt!
5 comments:
Very clever!
I love wrapping books and other square thingies ;-) It's kinda like that! Very cool!
Great idea! And a cute Halloween quilt!
Nifty! Will try that next time rather than cutting out binding and fighting with the tiddly corners.
Very neat! Thanks so much, will be very useful to know!
Post a Comment