Me and my big ideas.....
 .....taking a break from DQS13 today. (Went up this morning to see how it had dried....it is square....but the orange and fuscia have bled a bit.....then Jack wanted to roll around on top of it.....I decided it was best to step away from the project for a little bit.)
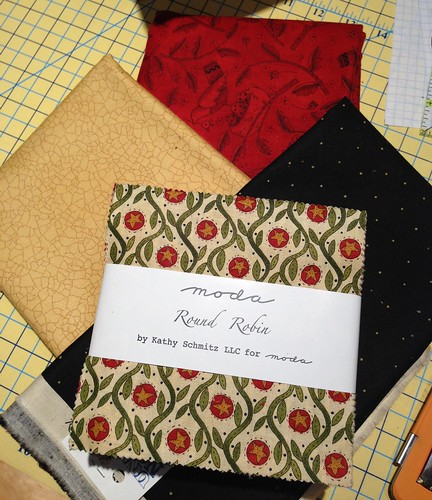
I am working on a new project for Moda Bakeshop. This isn't like anything I have offered up to date. The gist of the project is "words". They are getting ready to do a series on texty things. So far, so good.
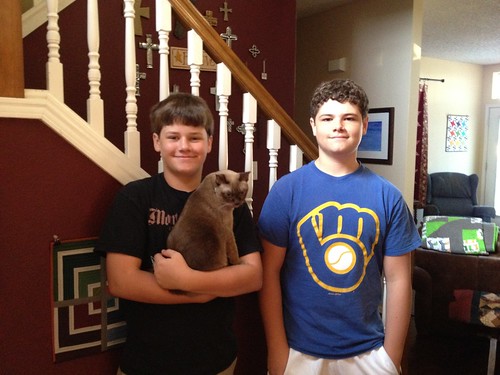 Every morning when my sweet boys leave for school I give them a big hug and whisper in their ears.

I am working on a new project for Moda Bakeshop. This isn't like anything I have offered up to date. The gist of the project is "words". They are getting ready to do a series on texty things. So far, so good.
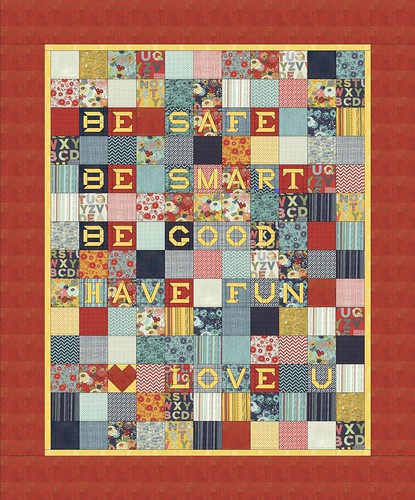
"BE SAFE....
"BE SMART...
"BE GOOD....
"BE GOOD....
"HAVE FUN...
"Love you."
They have been teasing me for a while, asking when I was going to make a mini to hang by the door. I keep telling them that there are too many words for a mini. Although, last night John (my 17 year old) told me that if I would embroider the words, then they would fit. True, true my sweet boy.
But, I have already "sold" the idea to MBS. I got fabric for my "Out the Door" throw on Tuesday.
Now I am trying to figure out the best way to create the letters. I want them to be seen in negative space.
My first thought, and the one I pitched Moda, was a ticker tape type quilt where the bits were moved aside to make the letters. Cool idea....but not one well suited to precuts and/or writing directions. I would be creating so many more UFOs in the world that I killed the idea when I was ordering fabric. (Besides, I couldn't figure out how much fabric to order doing it that way...the top would end up being a double layer all around.)
To simplify I went back to the idea of a grid with one letter per square.....but how to get my negative spaces.
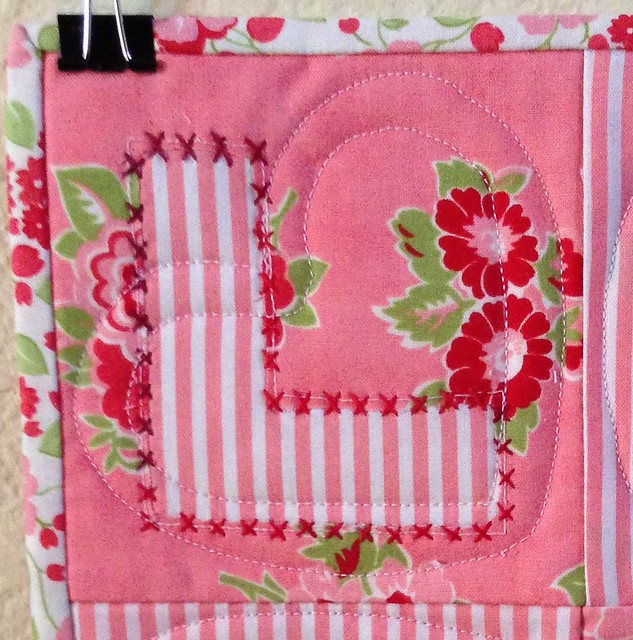
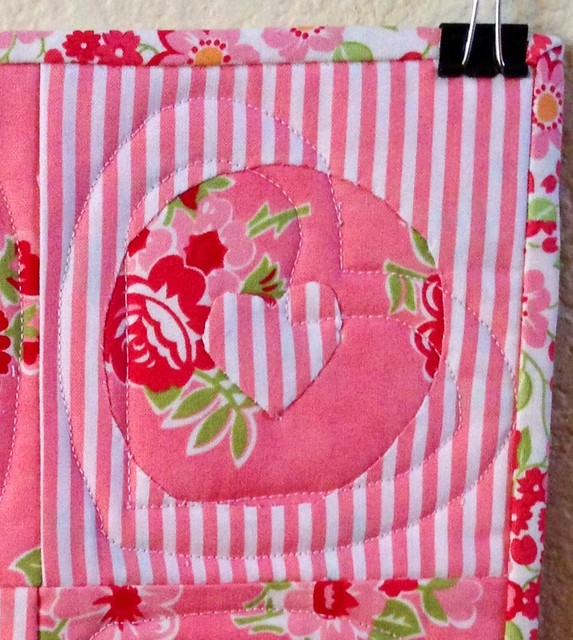
This morning I tried two different methods of reverse applique.
Raw edge (the L and E) - I drew the letters on a piece of paper; Layered the paper on top of two charms, both with right sides up; sewed just to the outside of the lines; ripped off the paper; trimmed the top layers of fabric; fray checked it; then did some hand embroidery to hold the little edges down further. I have to say this is probably the easier of the two methods. However, as a long arm quilter I have to say that I hate raw edges. They get caught on things.
Needle turn (the O and V) - I drew the letters on a piece of paper; traced the letters onto the right side of the top piece of fabric; basted the two pieced together around the edges; then hand appliqued the bits together along the tracing lines. (NOTE TO SELF - remember to do the centers first!). I like the finished look of this method best.....but it took much longer.
Do you have a method of reverse applique that you like? Tell me about it.
Do you have a method of reverse applique that you like? Tell me about it.
4 comments:
I have little applique knowledge - my fav method is fusible and then do a blanket stitch around the edge with my machine. I LOVE your LOVE - it is too cute! Can't wait to see the text projects on MBS.. I love stuff with words!
That is so LOVEly! Truly, I LOVE it! (no, I'm not shouting, I'm playing with words).
Your boys are so handsome and look so friendly.
I'm reluctant to mention it but I'm sorry to hear about the "other thing".
Congrats on yet another bake shop recipe. Looking forward to seeing it. I am pondering a "love" quilt for next month.
Foundation piecing? Or bonda-a-web normal appliqué and hand or maching stitch over the edges?, or the very narrow fusible binding (used for stained glass) to create the letters (not negative space, but does it have to be? What about the letter blocks being cream, and the letters being from the charm squares, while the other squares are charm squares?
Post a Comment